
Follow This Guide On How To Replace a Vanity In Your Home
Randy Johnson • December 31, 2019
Replacing a bathroom vanity isn't as tough as you might think.
How to change out an old Vanity!
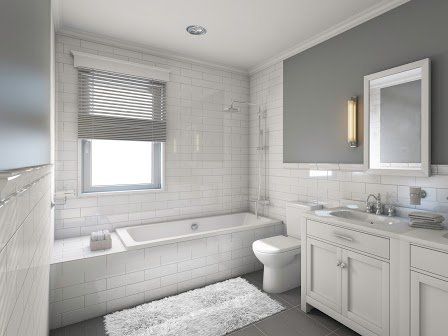
Along with the kitchen, the bathrooms offer the best return on dollars invested in a renovation. And one of the easiest ways to update your bathroom look is to replace the vanity, countertop, sink, and faucet with a clean-looking new unit. For a few hundred dollars you can make your bathroom look like a million bucks.
The first step in this easy renovation is to remove the old vanity, but the next step is to install the new vanity, countertop, and sink.
Vanity Basics
Vanities most commonly come in two styles: vessel style and cabinet style.
After you buy the vanity and take it home, carefully cut open the box, following the instructions are shown on the carton to ensure that you don't damage the finish of the vanity cabinet. Usually, when you buy a vanity kit, it will include the base cabinet as well as the countertop and sink that are separate from the cabinet. There may also be a separate backsplash piece. Remove all the packing and place the countertop/sink unit upside down on the carpet or some other soft surface to protect it until you need it.
Tools and Materials You Will Need
o Drill with screwdriver bits
o Electronic stud finder
o 24” to 48” level (or torpedo level)
o Manual coping saw or jigsaw (if necessary)
o Small profile gauge (if necessary)
o Wood shims (if necessary)
o Pencil
o Tape measure
o Wallboard screws
o Silicone caulk/sealant
o Caulk gun
• 02of 10
Locate the Wall Studs
Your vanity needs to be firmly anchored to wall studs, so the first step is to find the position of those studs in the wall behind the vanity cabinet.
Using an electronic stud finder, locate at least one wall stud on the wall behind the vanity location. Mark the center of the stud. Repeat the process to find a second stud if possible (studs are typically 16 inches center-to-center).
If the vanity is boxed in by a sidewall, also find the wall studs in the sidewall.
• 03of 10
Prepare to Attach the Vanity
1. Mark the height of the top of the vanity base cabinet on the back wall (as well as the sidewall if you have a corner installation). If no dimension was provided in the instructions, measure the actual cabinet and use that dimension. Measure from the floor to the top of the base cabinet (not including the countertop). Use a standard level to lightly mark the wall at the height of the vanity cabinet.
2. Once the height is marked off, place the vanity cabinet into position. If the vanity is anchored to the back wall only, make sure to position the cabinet so that the vanity top will have an equal overhang on each side.
3. If the vanity will be boxed in by a sidewall, too (as in our demonstration), place the vanity cabinet so the countertop will touch the sidewall and overhang on the opposite side. (You will have to test fit the countertop to determine this).
4. With the vanity in position, use a level to ensure the vanity is level both side-to-side and front-to-back. If necessary use wood shims driven under the cabinet to level it.
5. Secure the cabinet to the back wall with two 2-inch wallboard screws driven through the mounting strip in the back of the cabinet and into the wall studs.
• 04of 10
Preparing for Filler Strip (If Needed)
Where the cabinet is positioned against a sidewall leaving a gap to be filled, you will need to measure and cut a narrow filler strip to fill in this gap, as shown here. This may involve shaping the filler strip to fit around a baseboard or coved tile piece at the bottom of the cabinet.
You will first cut a filler strip, then scribe the profile of the baseboard onto the strip, then cut out that profile so the filler strip fits perfectly in the space.
• 05of 10
Making and Attaching a Filler Strip
0. Cut a filler strip to the overall length and width of the gap between the cabinet frame and the sidewall. Some vanity kits may come with filler strip material made of the same material as the face frame of the cabinet. Or, you may need to buy some wood stock of the same type as the face frame, then cut it to the right size and finish it to match the cabinet.
1. Trim the filler strip to the width of the gap. If you have a curved cove base tile as shown here, use a small profile gauge to "copy" the profile of the baseboard.
2. Transfer the shape onto the wood filler strip by tracing it with a pencil.
3. Using a manual coping saw or jigsaw, carefully cut out the shape of the cove base from the filler strip.
4. Test-fit the filler strip and adjust as necessary.
5. Once the filler strip fits precisely, sand, stain and finish the wood strip to match the base cabinet face frame.
6. Attach the filler strip to the cabinet with screws driven through the inside edge of the cabinet face frame and into the edge of the filler strip. Ideally, the filler strip should look like a continuation of the face frame.
• 06of 10
Fasten the Side of the Vanity to the Sidewall
Although this step is sometimes omitted, it is best to anchor the side of the vanity cabinet to the sidewall, as well as securing the cabinet to the back wall. But because there is a gap between the side of the cabinet and the wall, you'll need to shim out the gap for support before driving screws.
0. Cut two wood spacer blocks to a width about 1/8 inch short of the distance from the vanity side to the wall.
1. Place two wood shims between the wood spacer blocks and the wall, driving them together slightly to create a snug fit.
2. Drive a drywall screw into the cabinet side and into the wall at a stud location, making sure the screw is long enough to extend about one inch into the stud.
• 07of 10
Install the Vanity Top
If the sink is separate from the countertop rather than an integral piece, attach it to the countertop before installing the countertop on the vanity.
0. Also, attach the faucet and drain fittings. It is much easier to install these components on a detached countertop than do it after the countertop is in place.
1. Place a small amount of silicone sealant/caulk on the bottom surface of the countertop at each corner, where it will rest on the cabinet. Then set the countertop/sink assembly in place onto the cabinet. If the vanity is installed just against a back wall, make sure countertop overhangs equally on each side. If the cabinet is boxed in by a sidewall as well, put the countertop tightly against the sidewall, with the overhang falling on the open side.
2. Make sure the vanity top is now in the final position you desire, with the back of the countertop firmly against the back wall.
3. It is not usually necessary to anchor the countertop to the cabinet in any other way since the silicone caulk will bond it to the cabinet. Some vanity kits, though, come with brackets that screw to the bottom of the countertop from beneath the sink. If your vanity came with these brackets, attach them now.
• 08of 10
Connect the Plumbing
Once the countertop assembly is in place, hook up the faucet water supply. How this is done will depend on the style and manufacturer of your faucet, but essentially it involves connecting flexible supply tubes to run from shutoff valves to the tailpieces on the faucet.
Also, connect the drain trap fittings to the branch drain from beneath the sink.
Continue to 9 of 10 below.
• 09of 10
Install the Backsplash
If your vanity came with a separate backsplash, now is the time to install it:
0. Apply a bead of silicone sealant/caulk in a serpentine pattern on the back of the backsplash.
1. Press the backsplash firmly into place against the wall.
2. Install a bead of silicone caulk along the cracks between the backsplash and the wall, and also along the crack between the bottom of the backsplash and the countertop.
3. Let the caulk cure 24 hours.
4. If you have a granite or marble vanity top use a stone sealer before using the vanity.
Continue to 10 of 10 below.
• 10of 10
Enjoy Your Finished Vanity
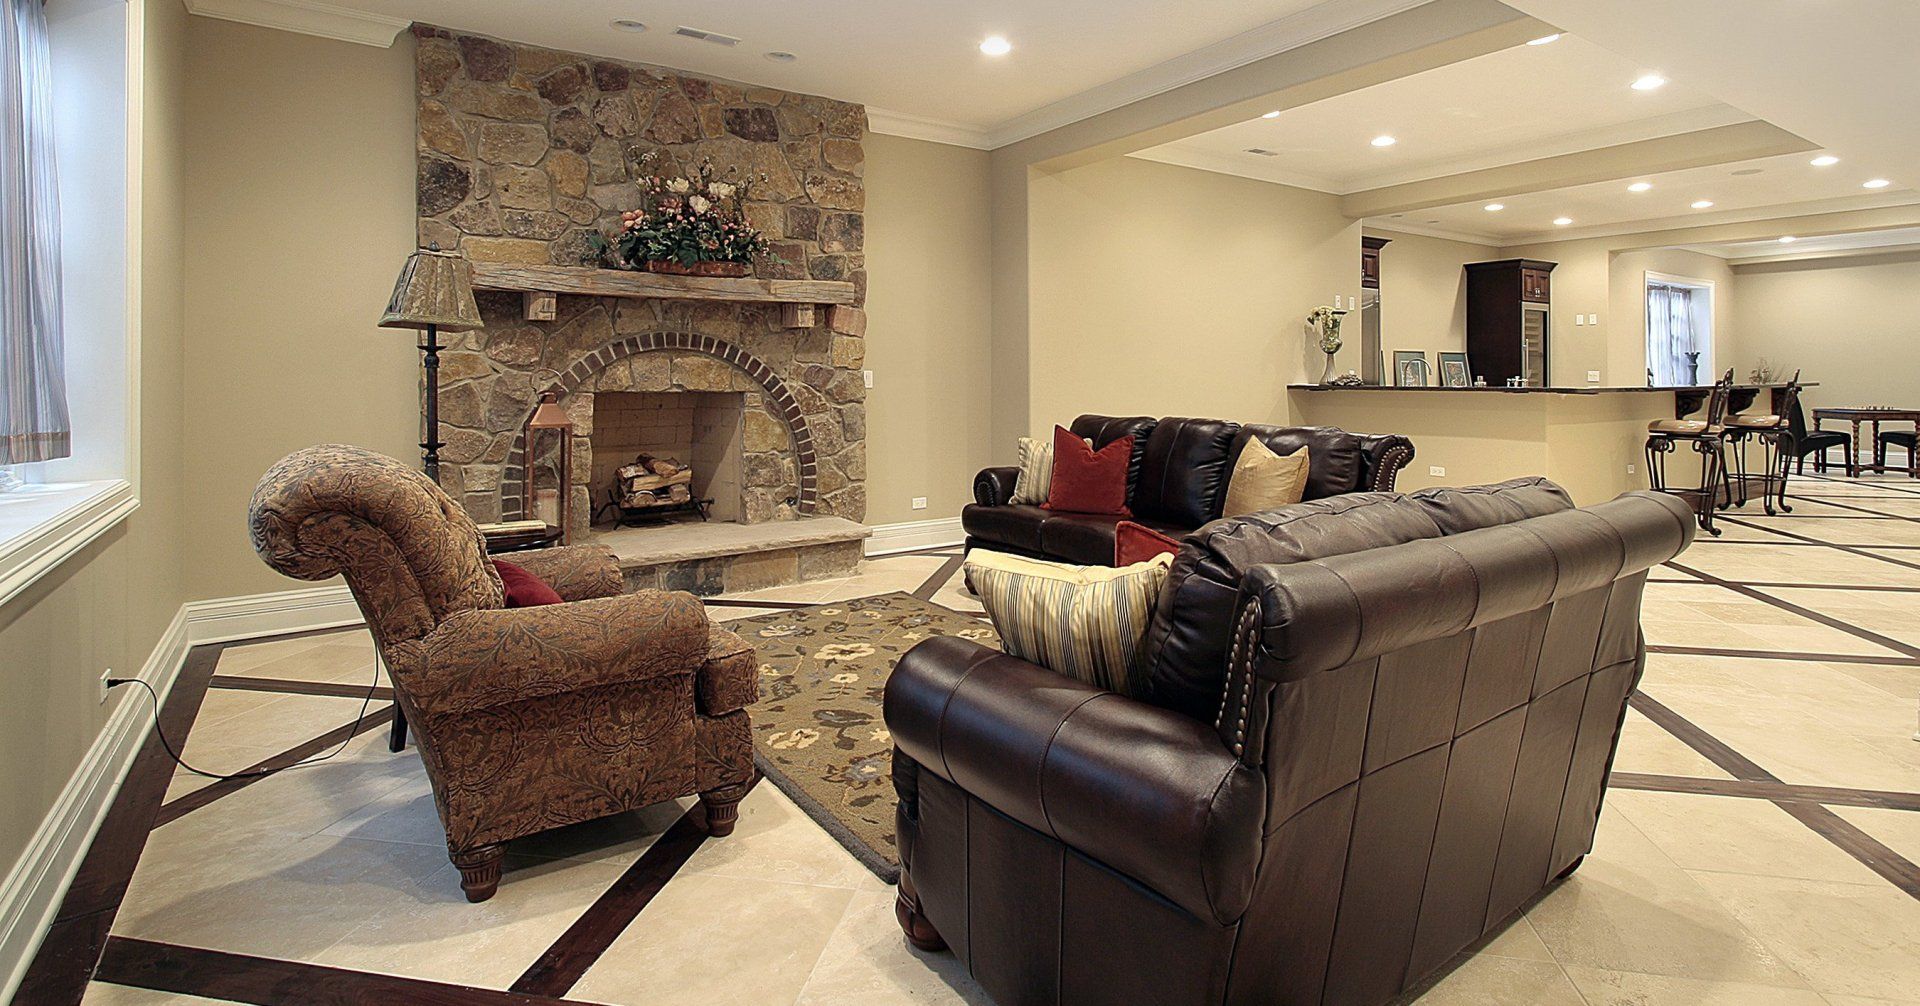
Finishing a basement is a great way to add livable square footage to your home without having to build a new addition. And while finishing a basement often seems like a DIY job, there are aspects of it that require expertise from professionals. To help you started, we’ve rounded up some essential tips for finishing a basement.
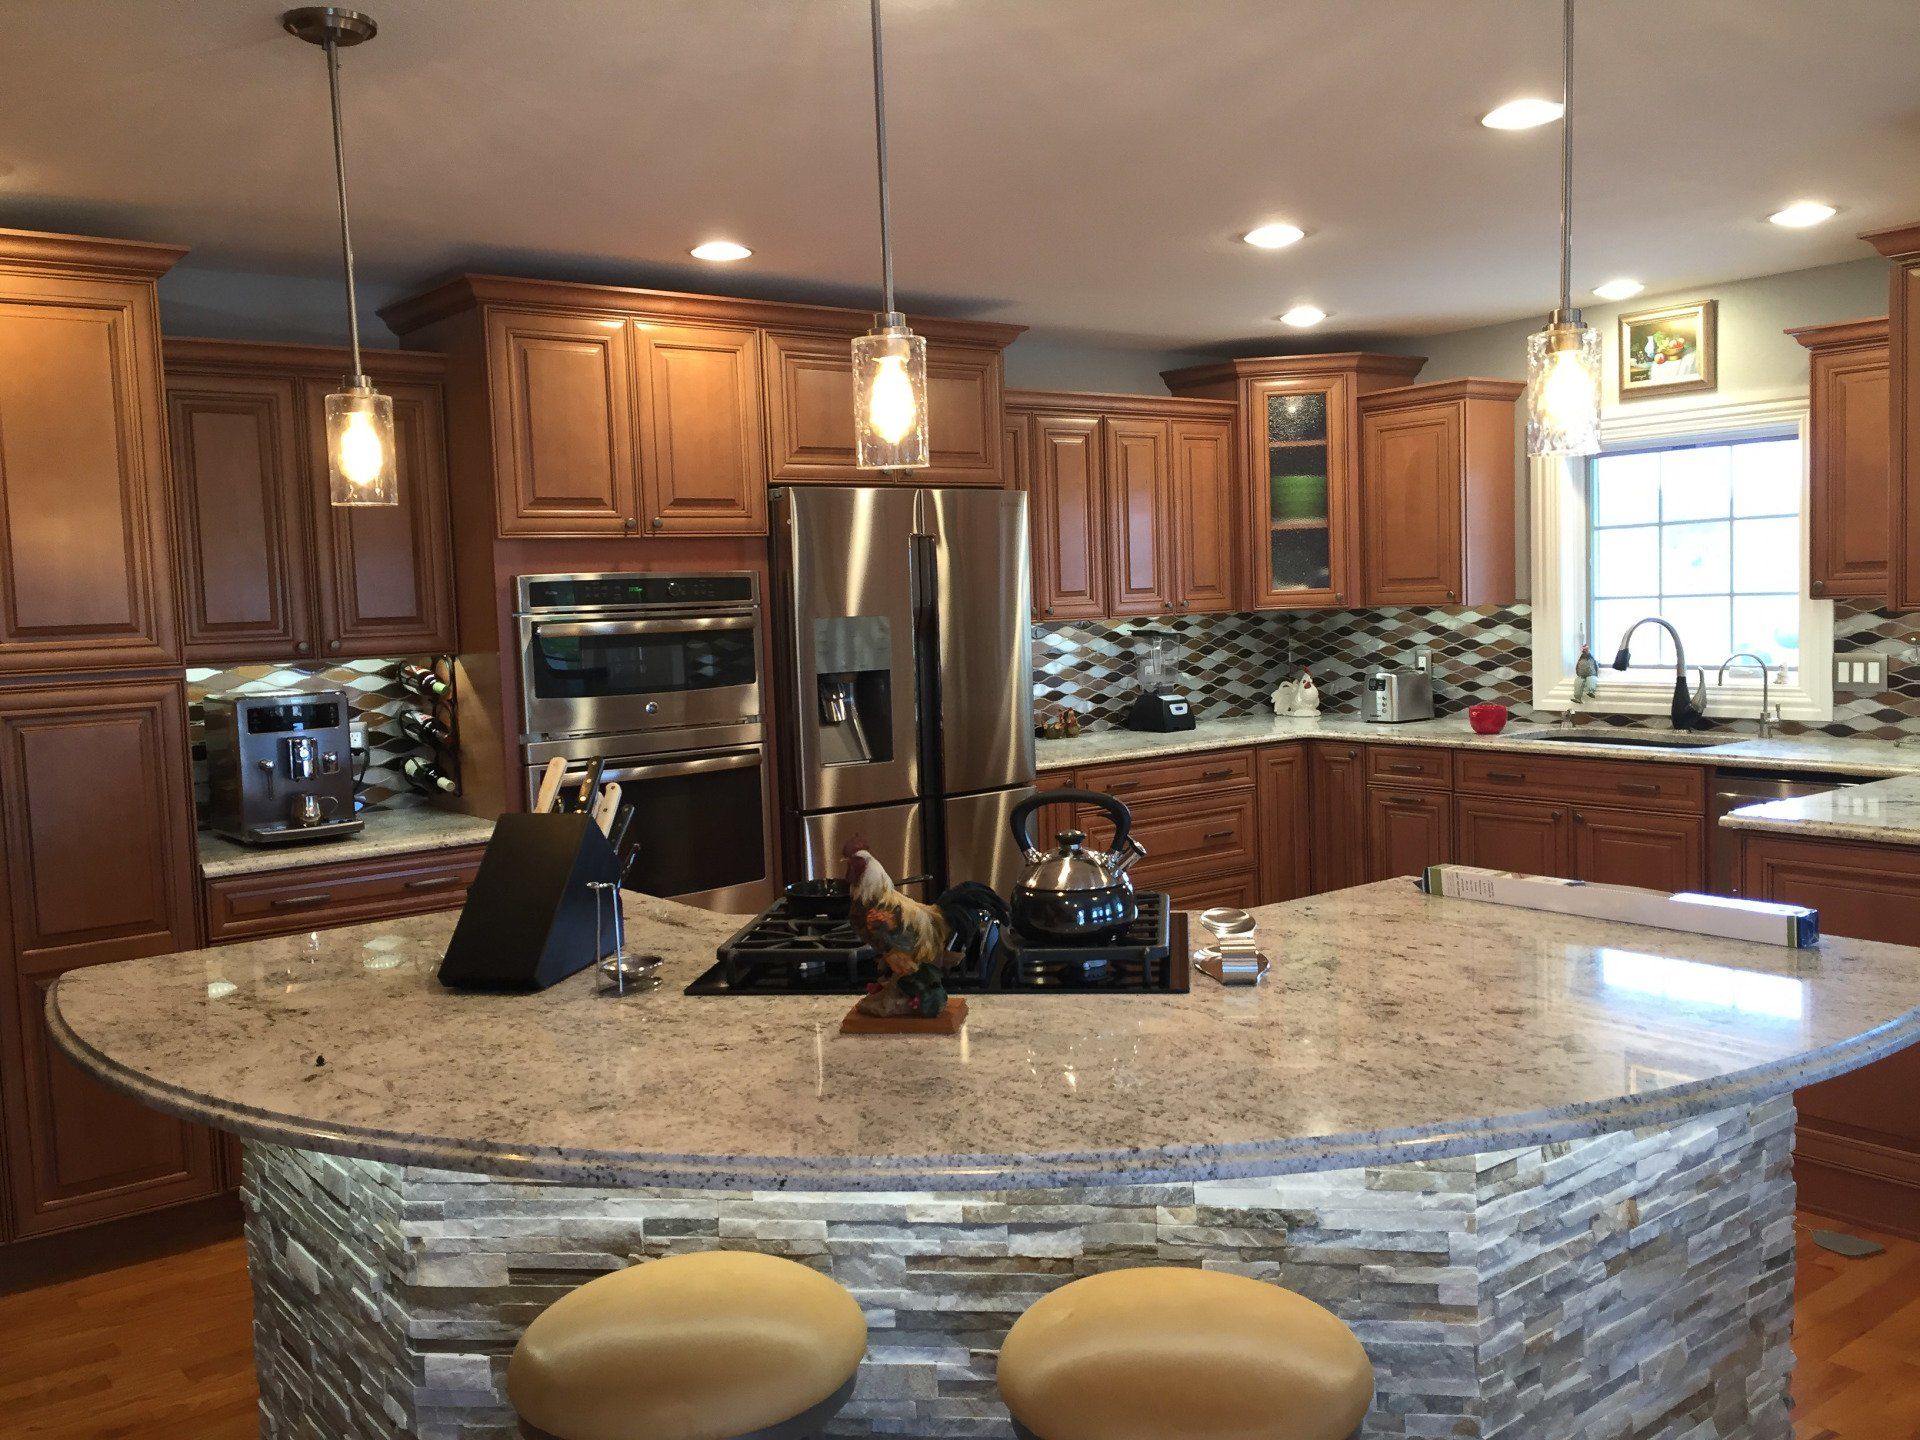
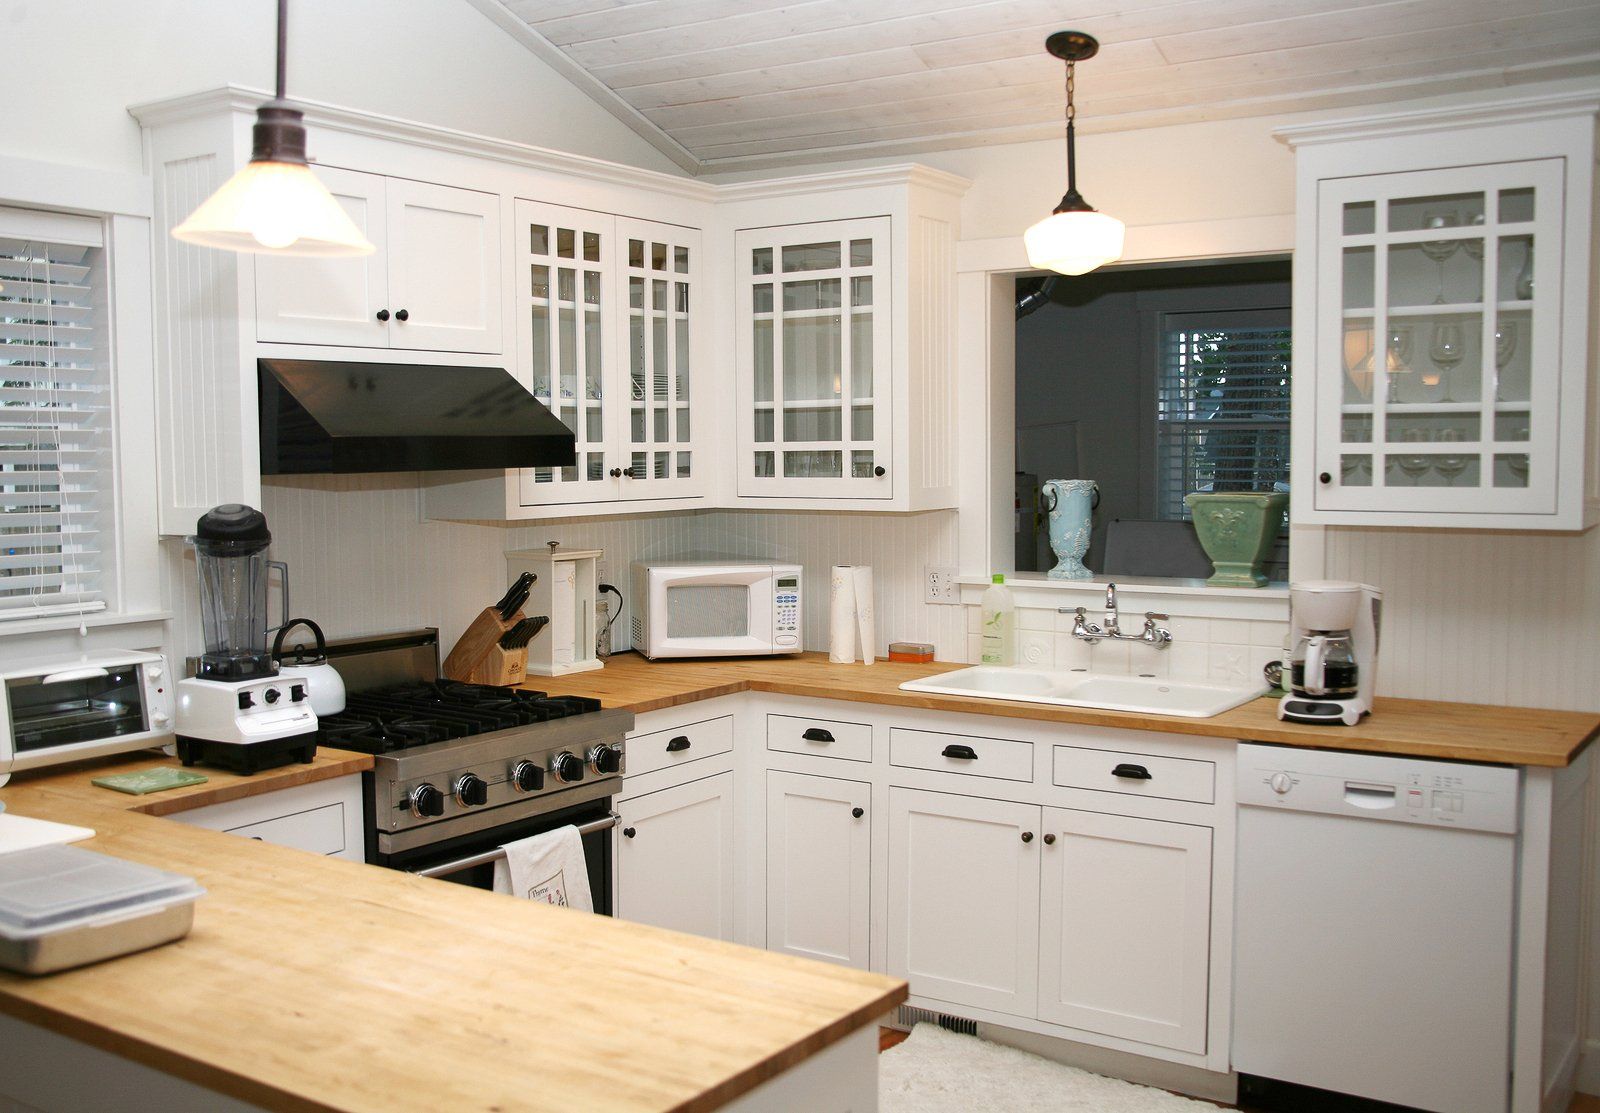
When planning a kitchen remodel timeline, most homeowners want to know the best time to start in order to be completed by a specific date. Therefore, at Advantage, we often get asked the question, “How long does it take to remodel a kitchen?” There are 3 basic phases of a kitchen remodel: design, planning and production. Your timeline will depend on the size and type of kitchen remodel, but it generally takes between four to six weeks to remodel, if you do not include the planning and design phases. PLANNING AND DESIGN TIMELINE OF A KITCHEN REMODEL If you are considering a kitchen remodel, it is extremely important to take as much time as you need to plan. Each and every detail will need to be thought through and planned for, and you want the end result to be exactly as you’ve envisioned it. If you have the ability to print out or email pictures of elements that you would like to be incorporated into the design of your kitchen, please do this. Pictures can save on design time and ensure accuracy in communicating your vision. Advantage Services ll can provide accurate drawings to help you visualize your remodeled living space. It is very important to work with a design/build company that can show you design and product options, and their associated costs. It is also important to clearly communicate your budget to your design build company so they can help you keep watch on your budget throughout the process. At Advantage Services llc we provide our clients with 3D renderings of their kitchen design so that they know what their future kitchen will look like. We believe this service is in the best interest of the client-provider relationship. After all, it is much easier to make a change to a drawing than it is to make a change after the project is underway. Clear communication is paramount through the remodel process, and Advantage is committed to making every reasonable effort to ensure the process is free of unexpected issues and unmet expectations. During the design phase, you will be able to pick out your selections for your new kitchen. Countertops, backsplashes, appliances, lighting, drawer pulls, cabinet color and style – all of these details are decided before demolition begins. After all of these details are collected, the project moves to the planning phase. The planning phase is where the project is broken down into parts. Each part of the renovation process is given tasks with dates, provider, and a materials list. This becomes the master schedule for your project. You will be provided with the schedule, so you know what to expect, who to expect, and when to expect them by. This is also important because every project has milestones, and once a milestone is completed, you should expect to be billed for the services provided related to that milestone. Your project representative will show you this schedule with milestones up front to make sure that both the schedule and the billing milestones are suitable for you. SPECIALTY MATERIALS WITH WAIT TIMES When you are planning for a kitchen remodel, remember that specialty appliances and other specialty items may have a wait time. It is important to factor in this wait time into the master schedule. Certain tile and stone products and custom-fabricated furniture may also have a wait time associated with them. Advantage offers custom and semi-custom cabinets, and these can take between four to eight weeks to receive. Stock, or ready-made cabinets can have a shorter wait time, but still need to have at least 2 weeks set aside. If you want granite countertops, your Advantage representative will go with you to select the actual slab you like. This guarantees you are getting exactly what you want. This is a part of the Advantage Services llc design process. If there is a unique tile backsplash you love or want to have custom-designed, or if you are using custom tile or other specialty material for flooring, this will need to be ordered before the demolition process begins as specialty tile and flooring can also have a wait time. PHASES OF THE KITCHEN REMODEL PROCESS After you’ve approved (and hopefully fallen in love with!) the design of your new kitchen, you’ve selected all your materials, and you’re happy with the suggested schedule, your remodel project can get started. Your remodel schedule should reflect approximately 4-6 weeks of work. We’ve divided the work into 6 steps: Step One: Removal of Existing Kitchen & Evaluation Removal of the old kitchen, including removing old appliances, cabinetry, countertops, flooring, etc. happens on the first day. After everything has been removed, we evaluate the floors and ceilings and address any modifications that need to be made with you. Modifications that need to be made are considered change orders, therefore, we will not move forward on the project until we’ve discussed and agreed on how to proceed. Step Two: Rough-in All Electrical, Set up / Install Mechanicals The mechanical installation is the second stage of the remodel process and can take about five days to complete. It is during this step of the kitchen remodel timeline that new plumbing, HVAC and electric is installed. Most kitchen remodels require new light fixtures at the very least. Some projects require all new electric completely. Each location for outlets, lighting, switches, and appliance power feeds are clearly marked. This process removes any guesswork for the electrician and enables him to wire and install the new system in a timely manner. If requested, speaker wire, cable wire, and other home automation product wiring will be added at this time. Most projects require an inspection prior to adding insulation and covering with drywall. Inspection will be scheduled and completed when all plumbing, HVAC, electrical, and home automation installation is complete. Step Three: Insulation, Drywall Installation, Finishing & Priming, Flooring Upon completion of the mechanical phase and its inspection, we will begin insulating your kitchen, hanging the drywall, finishing the drywall and priming for paint. Flooring installation follows (if you are replacing the existing floor). Step Four: Cabinet Installation, Countertop Templating, Fabrication, and Installation For many clients, the day cabinetry is installed is a very exciting day! The kitchen cabinets are installed with precision, and crown molding is added to finish the look. Next on the list is templating the countertops. The countertop area is measured with precision to ensure your new countertops fit like a glove. On average, two weeks will pass between the time the countertop is templated to the time the countertop is installed. Step Five: Final Interior Finish Stage and Painting The interior finishing phase typically includes installation of the plumbing fixtures, decorative backsplashes, trim, and baseboard. Painting is completed during this phase as well. Step Six: Installation of Electrical Fixtures & Appliances and Final Cleanup This time is used for small touch-ups and fine-tuning to ensure that all your expectations were met. A kitchen remodel is an undertaking that requires thoughtful planning and accurate coordination to prevent delays and costly mistakes. If you are considering a kitchen remodel and would like to talk through design, timeframe, and cost, please give us a call. We’d be happy to address any questions or concerns you may have.
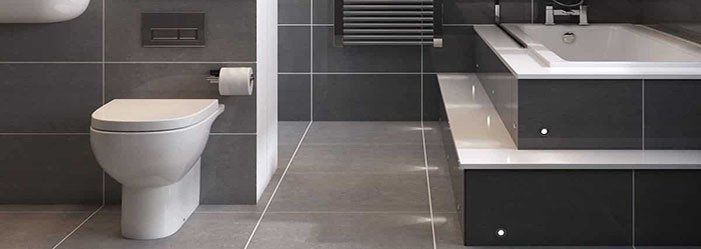
Whether your old toilet is damaged, or you're remodeling or simply want to upgrade, installing a new toilet is an easy DIY project. And if you're willing to give it a try, you might save big. Here's your quick guide to how we do our toilet installations.
Renovating a kitchen is a home improvement thrill ride. Each twist and turn brings new excitement as design elements are chosen and materials are selected. When you reach the part of the ride where you’ve found a contractor you can trust and a design that fits your budget and style, it’s time to throw your hands up and scream with glee. However, there is one part of the ride that can be extremely scary and often intimidates many people from renovating their kitchen. Staying on budget can prove to be particularly challenging for a lot of homeowners. Without the proper precautions, you may find yourself barreling off the tracks and in a heap of trouble. According to a recent study by Houzz, only 4% of home remodeling projects come in under budget. So how can you limit your chances of blowing the budget on your kitchen renovation? At Advantage Services llc, we understand that sticking to a budget takes a cooperative effort between the designer, contractor, and the homeowner. After a design is finalized, a design contract is detailed to not only provide a 3-D rendering of the project but to also provide a list of materials and known expenses. Although there is a chance of small unexpected twists and turns, meticulous planning can capture a lot of the factors that impact the overall cost of your renovation. Material upgrades can be one of the big influences that can cause the bottom to drop out from your budget planning process. One of the most invigorating parts of the process comes when a client begins to pick out specific countertops, hardware, lighting, and various components. This is where a project could go completely off-track. During the design and proposal stage, your kitchen remodeler and the designer will give generalized pricing guidelines for material costs. Even if mid-grade products are anticipated, choosing several premium products could increase your project costs by 15-20% or more. Most kitchen renovation projects we partake of include, at least, one type of upgrade, despite a thorough design discovery phase. Clients often later fall in love with a style of lighting, trim element, or countertop material that wasn’t originally planned for by either party. Since kitchen remodeling choices remain in homes for decades, homeowners often gravitate to selecting upgrades mid-project in fear of future regrets of denying themselves improvements. In order to keep your kitchen renovation project from coming to a screeching halt, we have the following suggestions: • Do lots of preliminary research to learn specific design elements that are make-or-break choices to match your style. • Only work with a kitchen renovation company that provides you with a comprehensive plan that includes product specifications, 3-D drawings, and a detailed proposal. • Spend plenty of time with your contractor during the initial planning phase. Discuss material options and ask to see physical samples of products. • Make sure your kitchen designer or contractor informs you of the overall cost increases of upgrades. Materials measured in smaller units like square or linear feet can add up quickly. Ask for the total upgrade cost. • Plan for a 15% or more contingency in your budget. That way you won’t be thrown for a loop with extra costs. Whether part of upgrading aesthetics or preparing a home for resale, kitchen renovations are one of the most likely and popular of home improvement projects. Don’t be intimidated, you’ll find the experience is bound to amaze. If you’re ready to jump in and buckle up, we’d be excited to enjoy the ride alongside you. At Advantage Services llc we are very good at staying on budget and let our customers know where they stand every step of the way. Call us today for Kitchen Remodel and Free 3D Design Advantage Services llc 303-467-3373
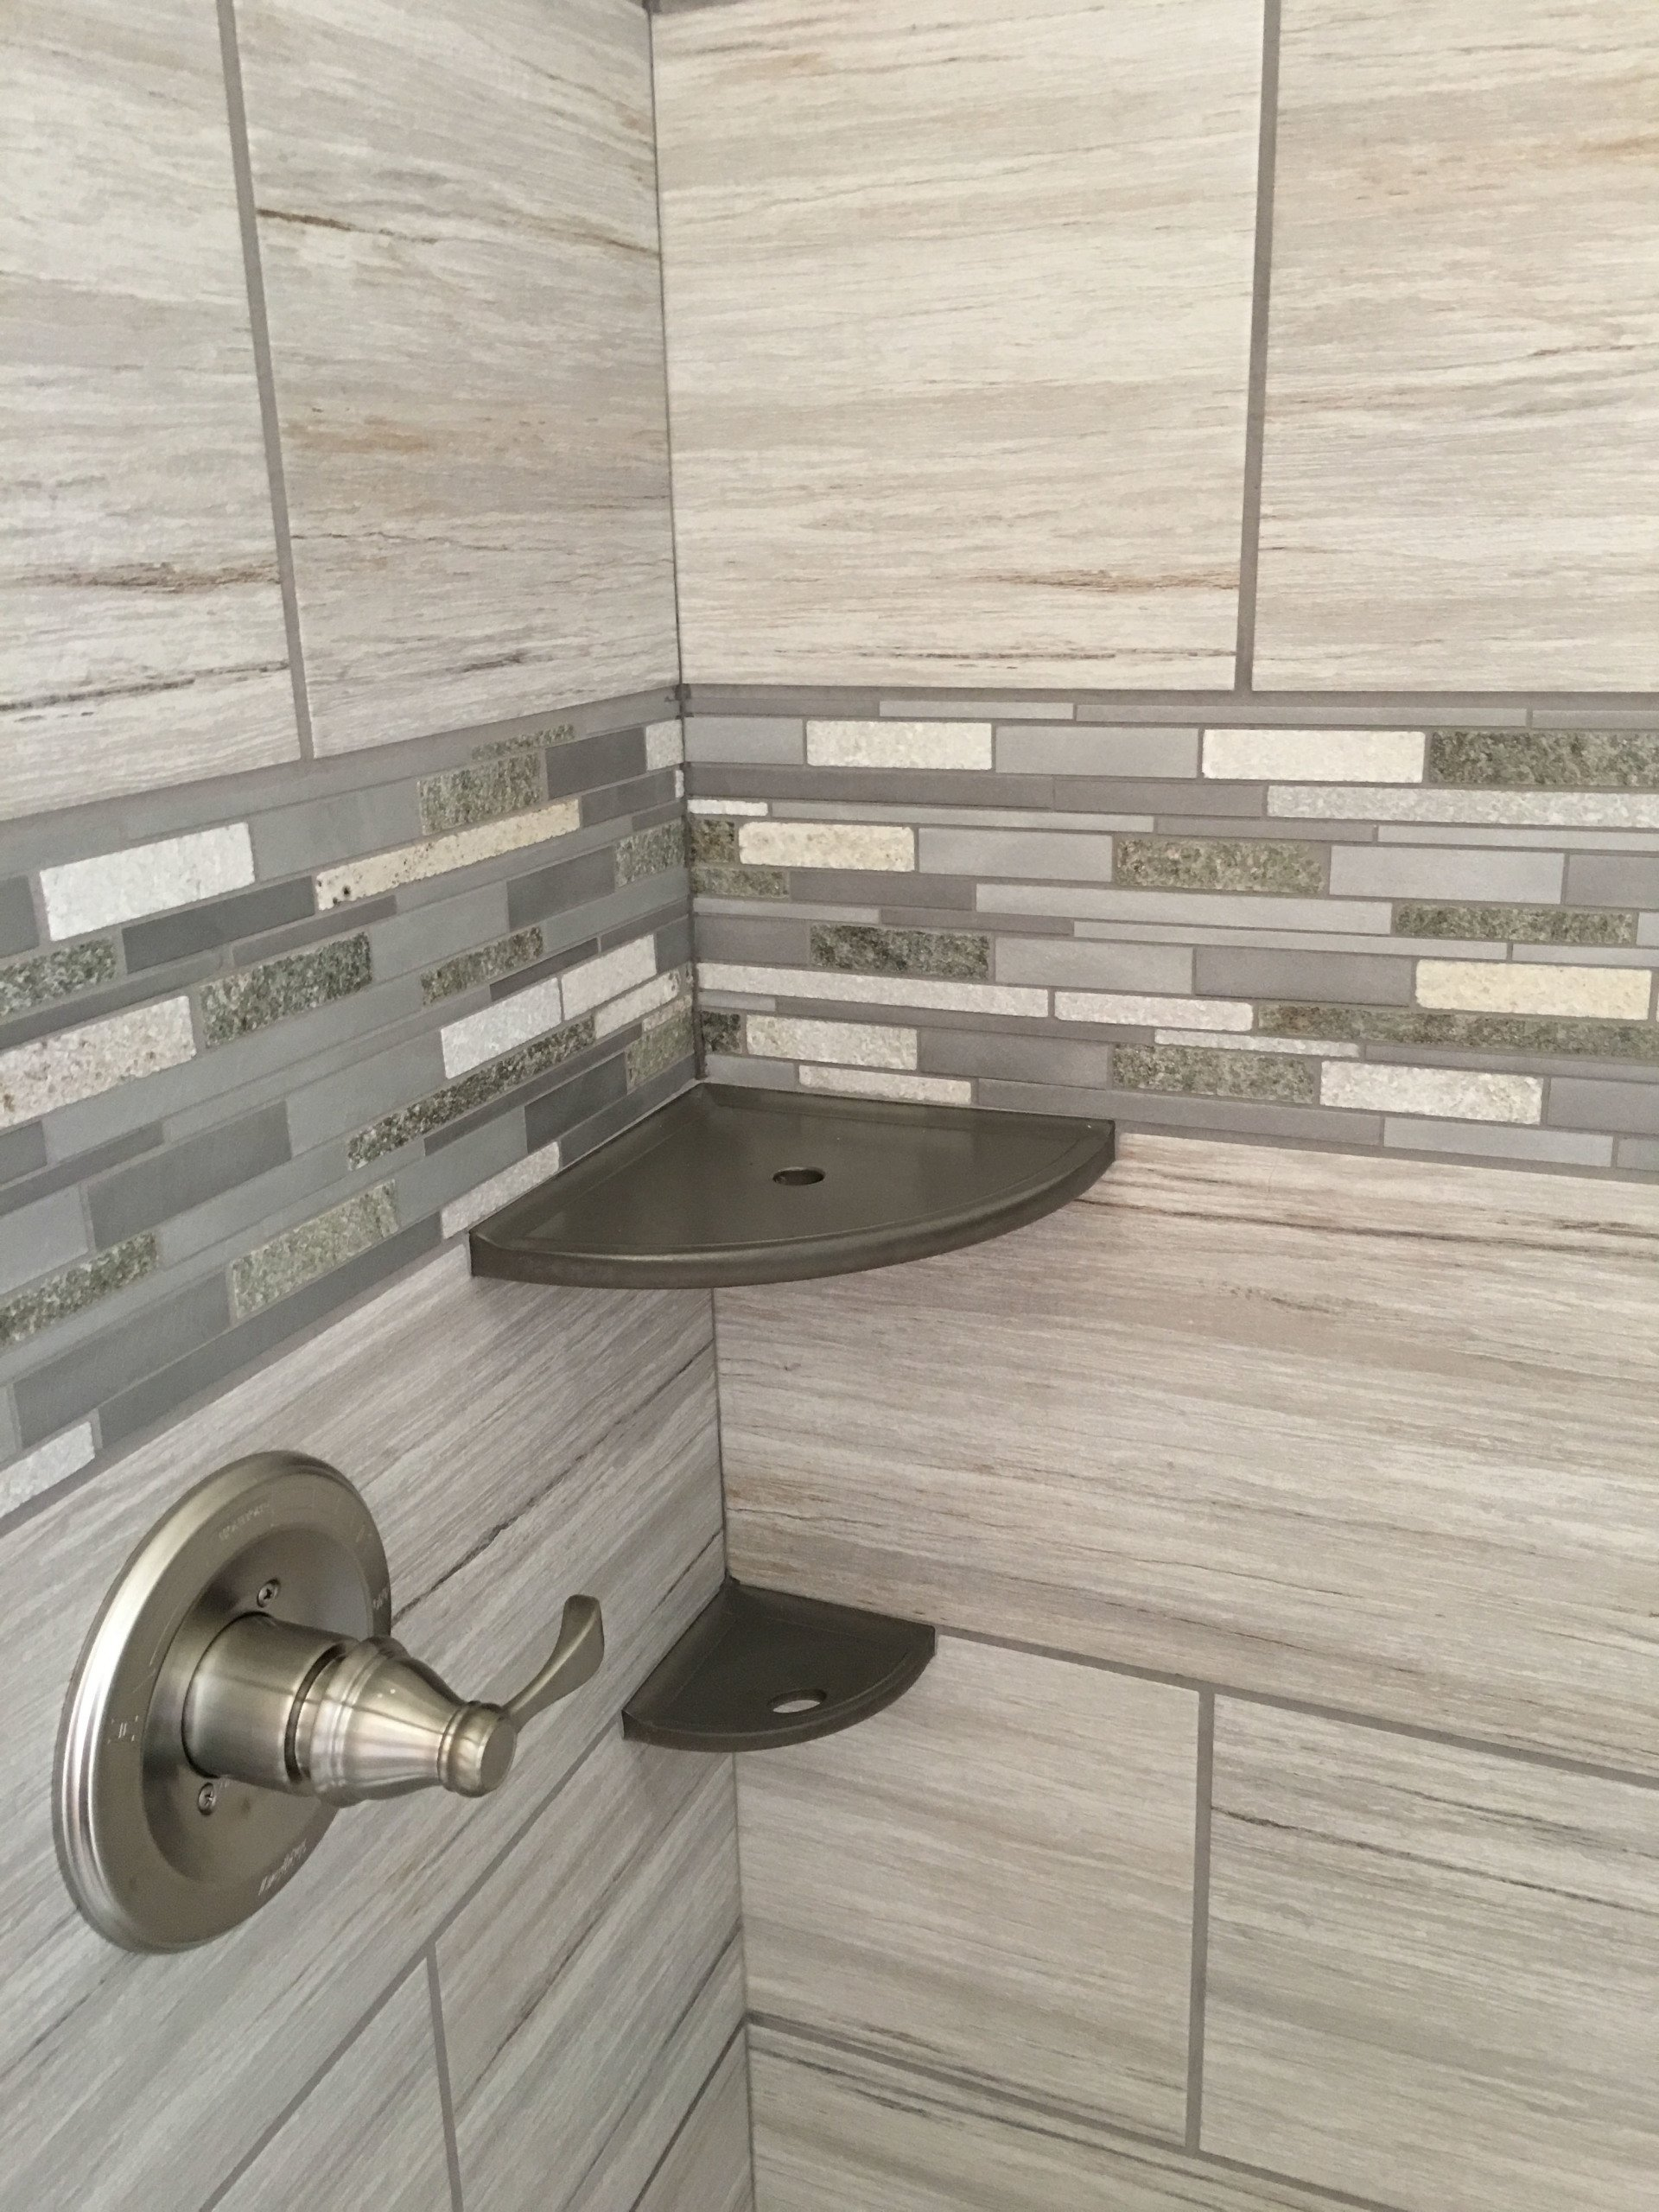
Advantage Services explains, from a design standpoint, what is the proper height to install a tiled shower border? Denver's choice for remodeling!
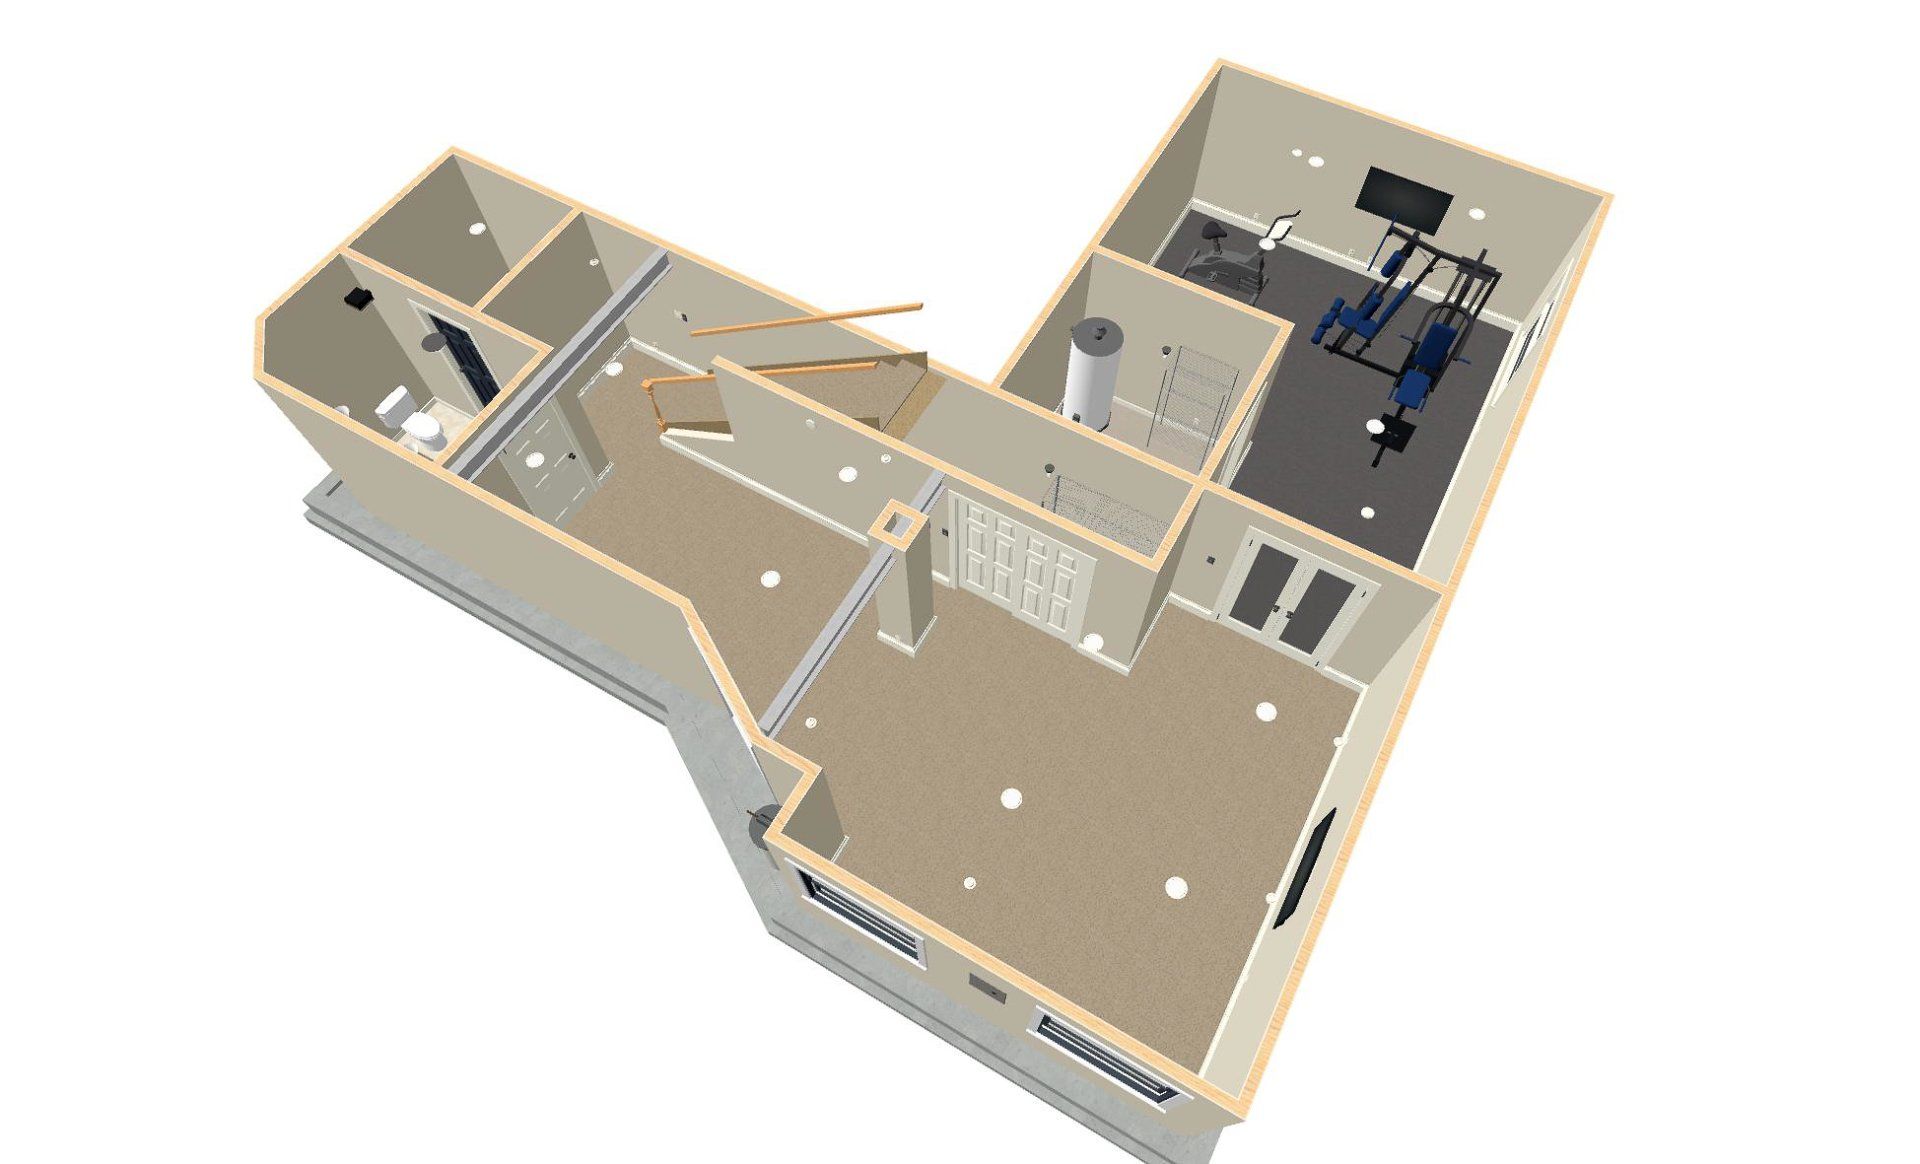
A large amount of us are visual people and have a hard time imagining what a room would look like if remodeled. Advantage Services LLC understands this and is pleased to provide design-build services. Advantage Services llc can provide accurate drawings to help you visualize your remodeled living space. Removing walls, re-purposing closets, and other spaces, laying out a new kitchen or bathroom– these are all projects that Cedars Woodworking can bring to life by CAD and other drawings. This means that if you are remodeling a part of your home, we can provide detailed drawings to show you what your space will look like when it is finished. Design-Build also means that upon design approval, Cedars Woodworking can coordinate your project from construction to completion. The benefits of utilizing Advantage Services llc’s design-build services include: 1) Involvement – we know how important it is to give you what you want. We’ll keep you in the loop! 2) Open Communication – ensures expectations are met and clearly defined 3) Collaboration – utilizing synergies to the client’s advantage to ensure project excellence, quality service, and the ability to meet budget requirements 4) Reduced Stress – ensuring seamless Communication between subcontractors (when needed) and vendors 5) Expertise – you can be assured we know each aspect of the project and that every detail is completed correctly 6) Efficiency – our design-build services team is involved from start to finish, which means that it is less likely for details to fall through the cracks 7) Accountability – Cedars is accountable for timeline, budget, and result of every design-build project 8) Teamwork – everyone involved in a design-build services project is on the same team, which means we all have the same goal of a successful project and full client satisfaction Consider using Advantage Services LLC to design and build your new living space! Visit our gallery for ideas to transform your home!
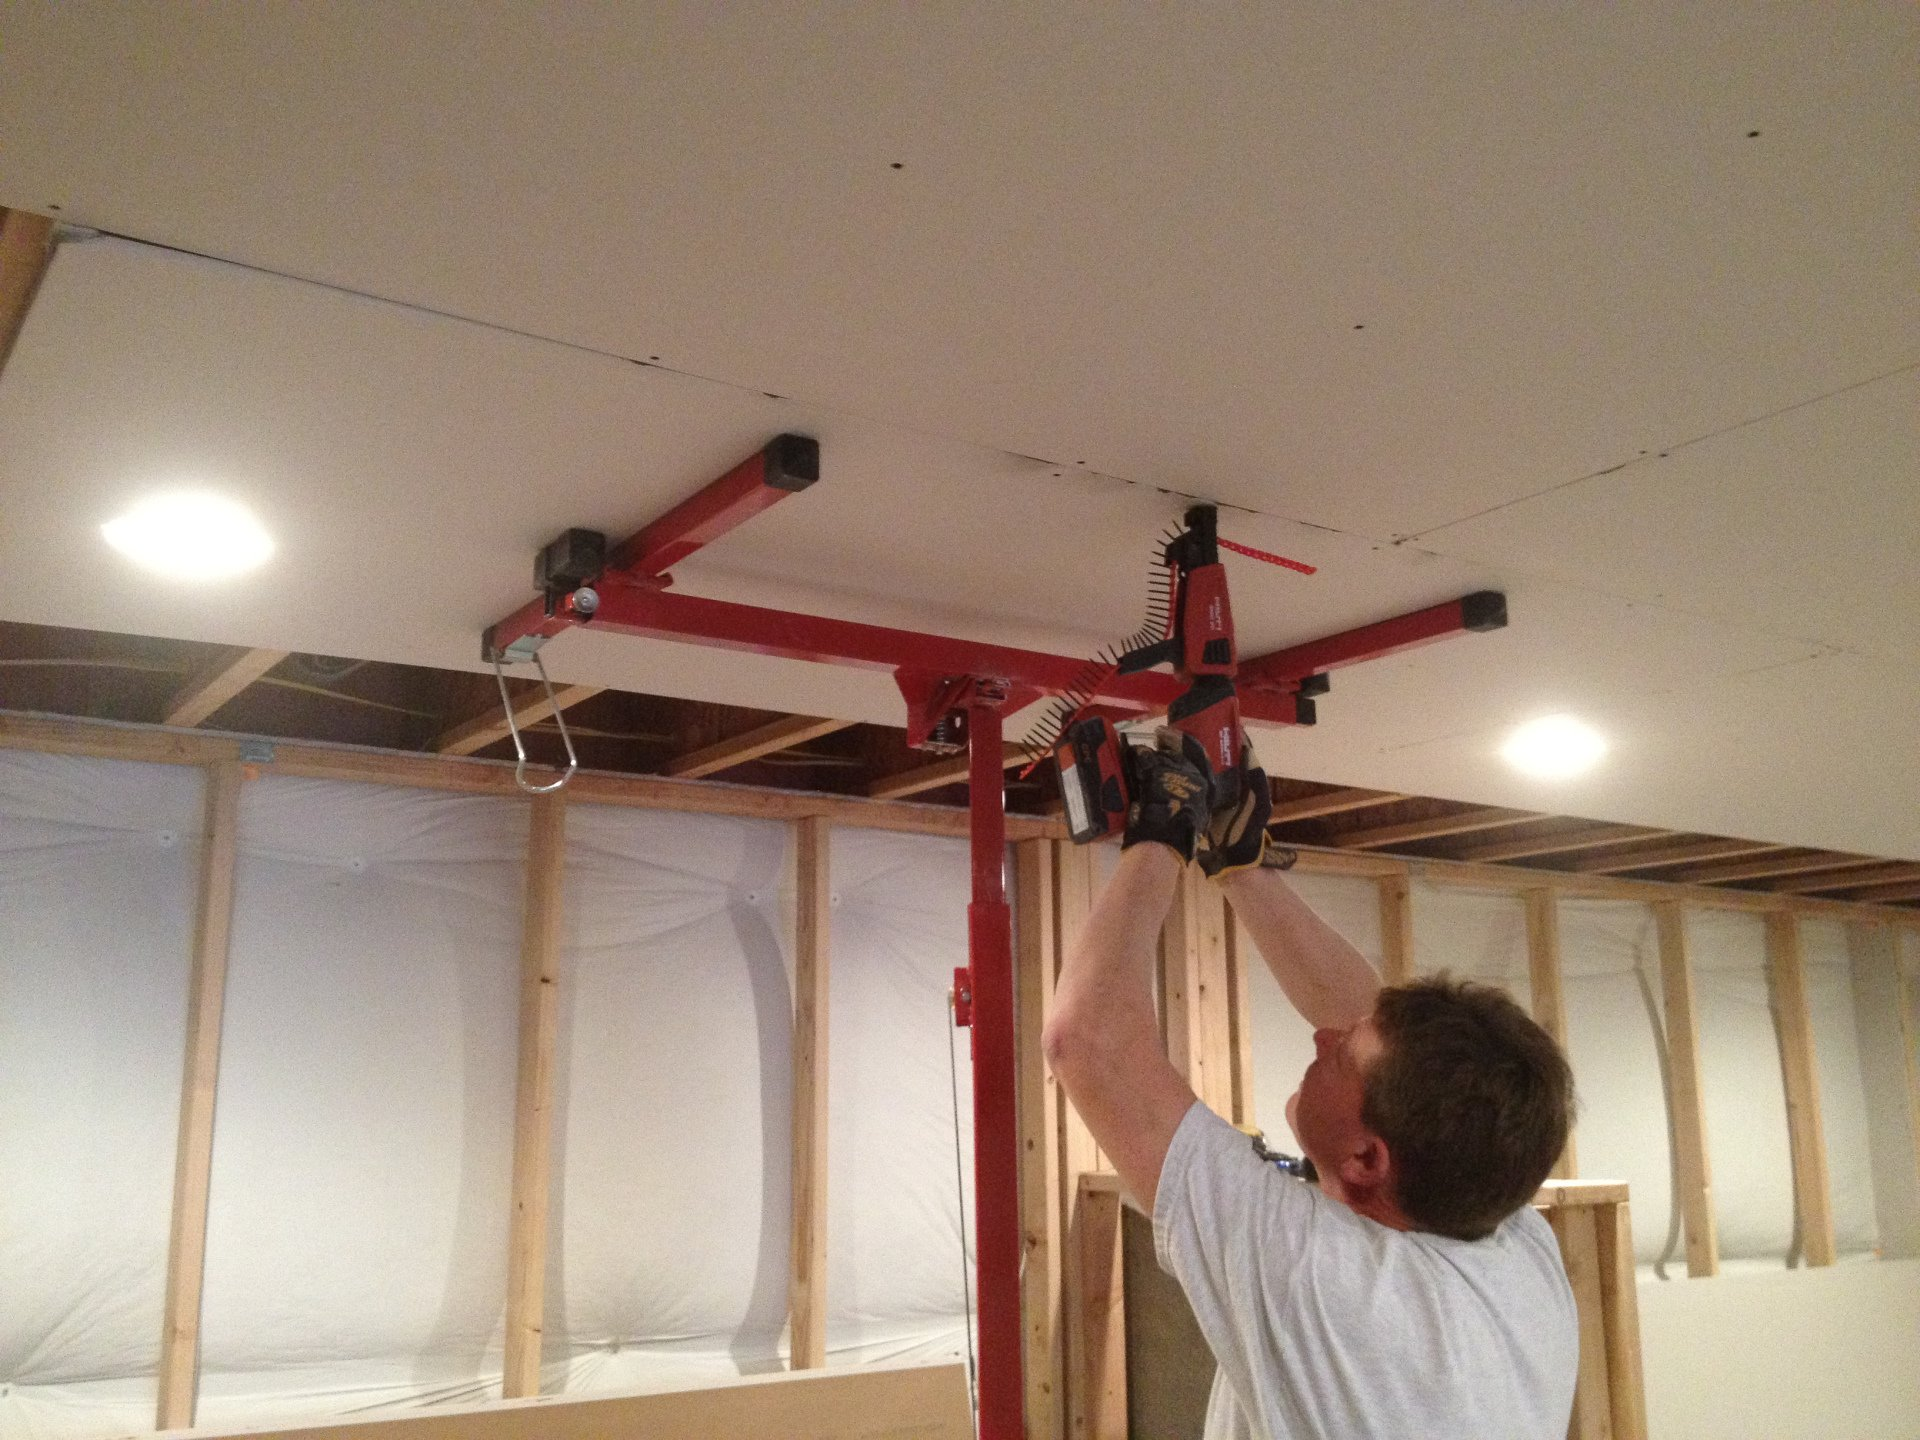
Advantage Services can patch and repair drywall holes or replace entire sheets of drywall if needed. This DIY guide will help you get started or you can hire a professional.
Advantage Services explains how they use BuildClean technology in order to control dust. A wonderful solution for Denver home remodeling projects!

Advantage Services offers a mini curb or standard curbed tub-to-shower conversion. Whether you’re looking to make your shower more accessible or you don’t have a need for a bathtub.
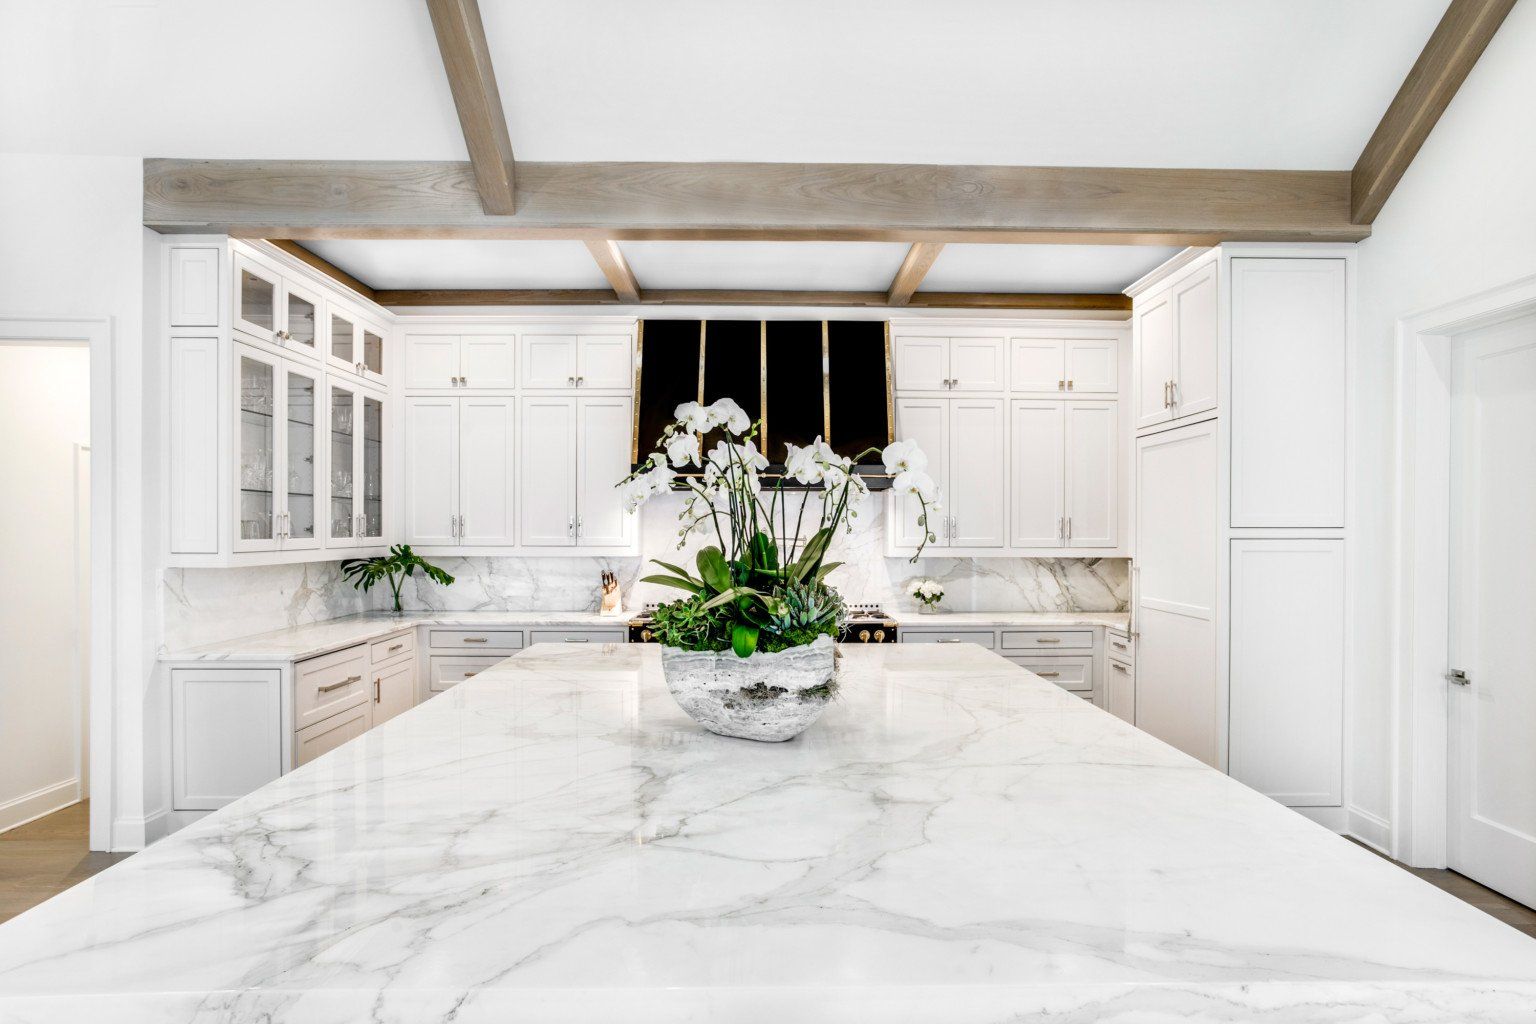
From white paints to shaker style cabinets, which drawer organizers to use and more, Advantage Services has been building amazing kitchen renovations in Denver for 20 years!